Trade Perps
This guide will walk you through everything you need to know to start trading perpetual contracts on the perp market using QuantHive.
Note: Trading perps on QuantHive requires connecting an EVM wallet on the Arbitrum network and depositing USDC to trade. Please ensure your Arbitrum wallet is funded with USDC for trading and ETH to pay for gas fees.
Note: In this guide, we’ll use MetaMask as an example for trading perps on QuantHive.
Trading Perps On QuantHive
Step 1: Sign in to your QuantHive dashboard (https://app.quanthive.ai) by clicking SIGN IN at the top-right corner.

Next, click Sign when the Signature Request window appears.

Note: If you do not have a QuantHive account yet, sign up for free now using this guide.
Step 2: Ensure that you are on perp mode.
If not, Click on PERP in the top left corner to switch to perp mode.

Step 3: To deposit $USDC for trading perps, connect your Arbitrum wallet by clicking on the PERP Wallet tab at the top of the screen.

Step 4: Click on the Connect Wallet button.

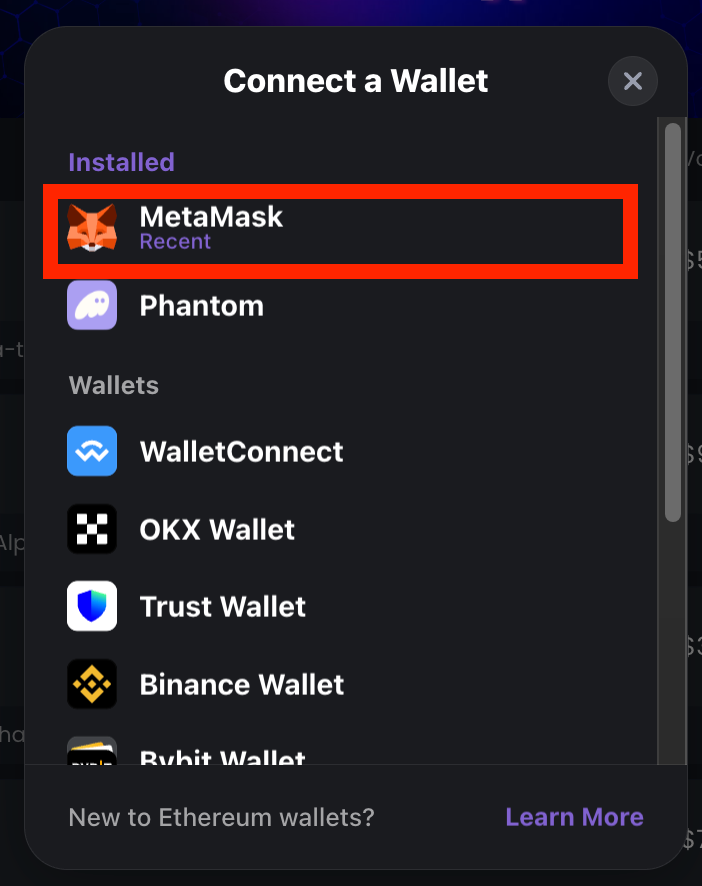
Step 5: A wallet selection window will appear. Click on your compatible wallet app to continue.
In this example, we’ll be using MetaMask.
Step 6: A wallet connection prompt will appear. Click Connect to proceed.
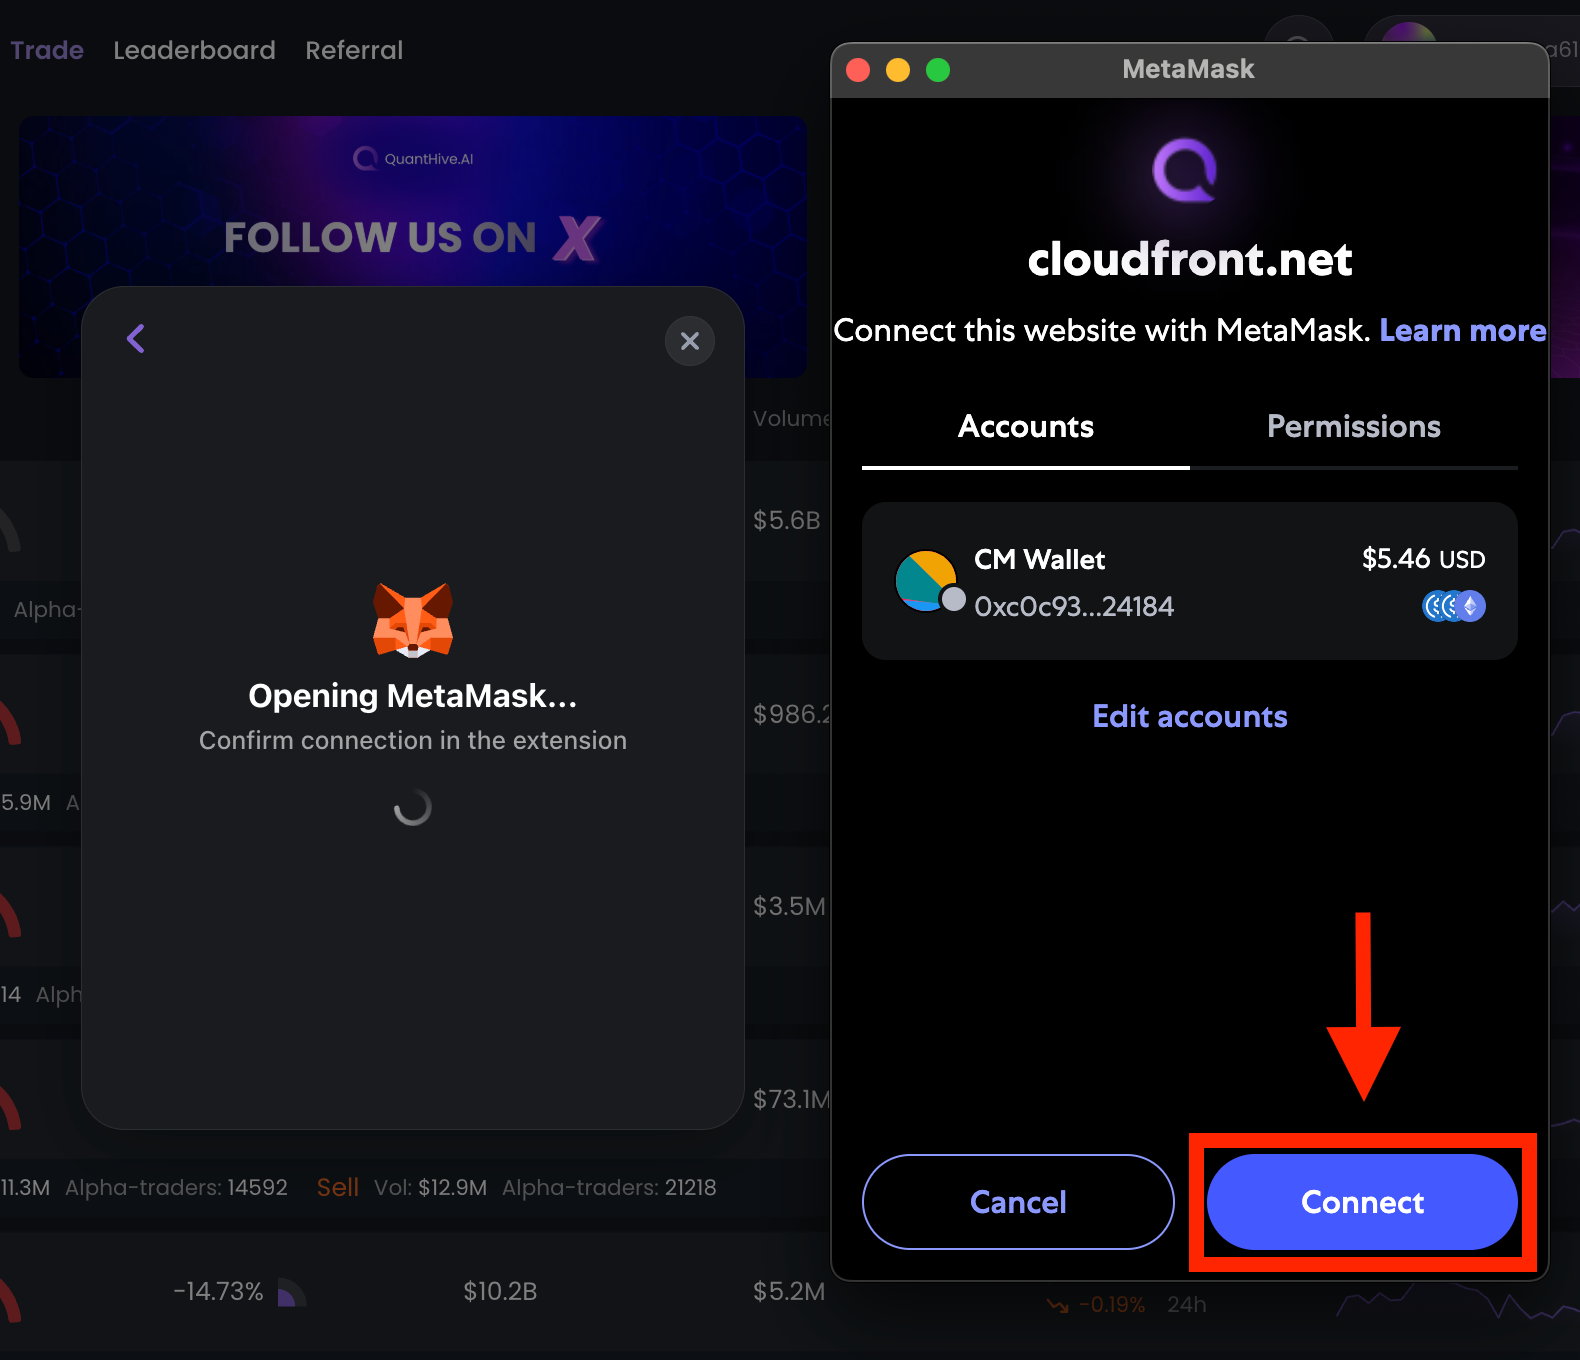
Step 7: A signature request prompt will appear. Click Confirm to proceed.

Step 8: Your wallet is now connected to QuantHive, as shown in the PERP Wallet tab above.
Next, access a Perp token page to view the trading dashboard by clicking on any token from the list below.

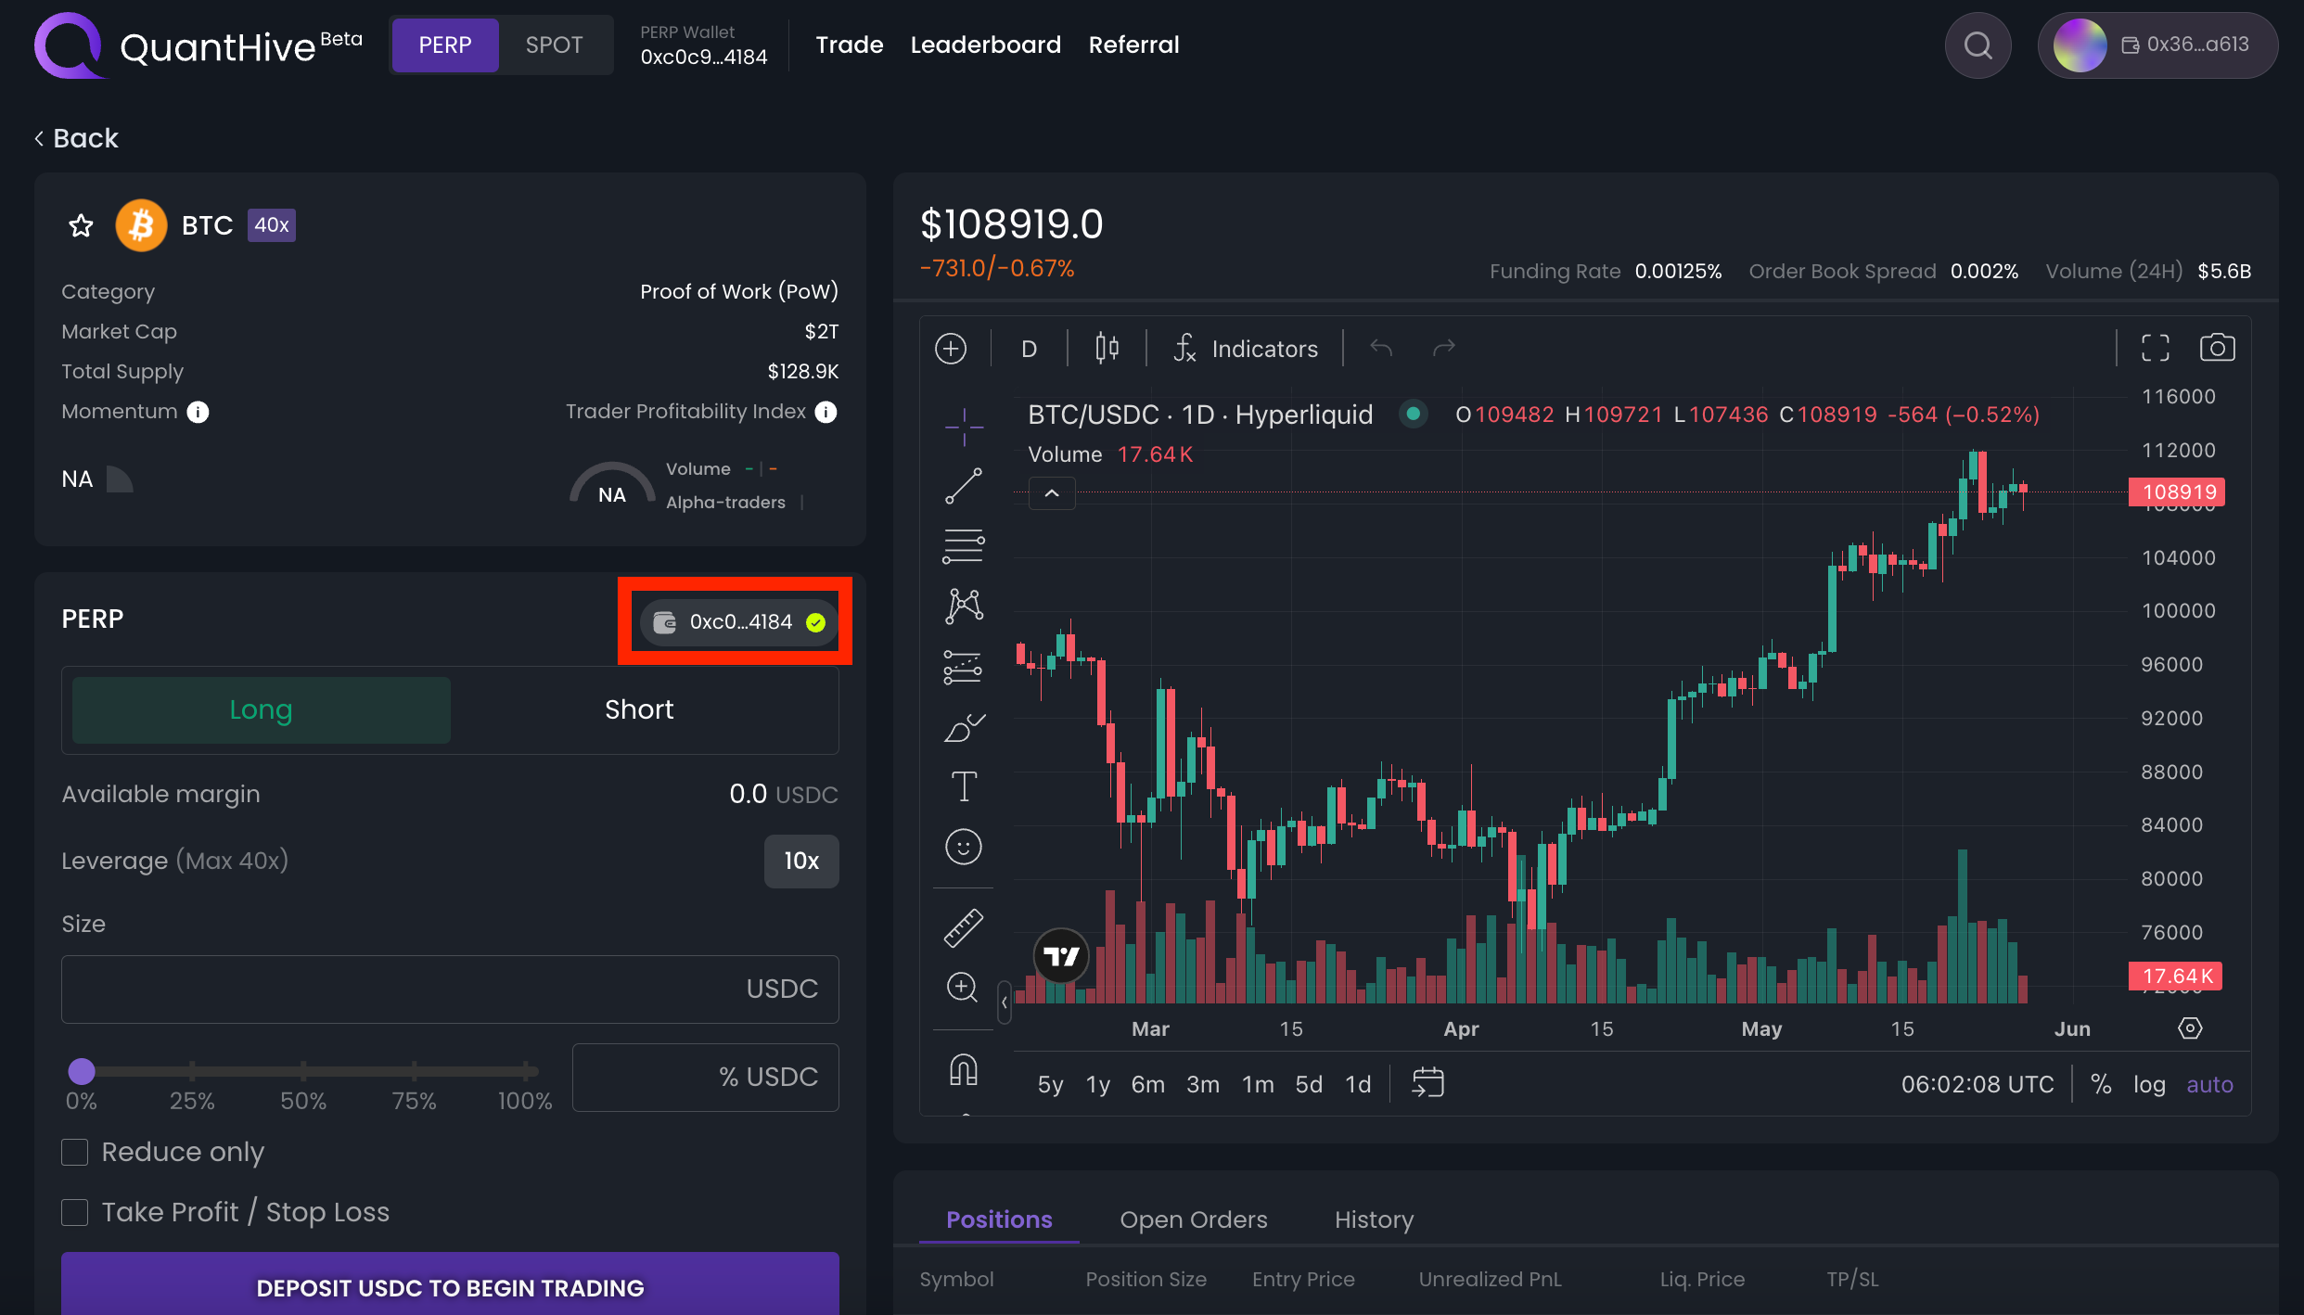
Step 9: In the Perp Order module, check for a yellow triangle warning icon. This indicates that your wallet hasn't been linked to your QuantHive profile yet. Click the yellow triangle warning icon to complete the linking process before trading.
Note: If you see a green checkmark instead, your wallet is already linked and you can skip this step.

An EVM Link Wallet window will appear. Click on Link to connect your Perp trading wallet to your QuantHive profile wallet.

A signature request prompt will appear. Click Confirm to proceed.

Note: Linking your QuantHive Perp trading wallet to your Profile wallet is important, as it ensures your trading volume is accurately tracked and the correct amount of points is credited to your profile wallet.
Once the linking is successful, you'll see a green tick icon next to your wallet address on the perp order module.
Step 10: Next, you'll need to deposit $USDC into your Perp trading wallet. Click on the PERP Wallet tab, then select the Deposit button.

Step 11: A deposit window will appear. Enter the amount of $USDC you’d like to deposit in the Amount field. You can also click MAX to key in your entire $USDC balance.
Then, click Deposit to proceed.

A transfer request prompt will appear. Click Confirm to approve the deposit transaction.

An alert will pop up to inform you once your deposit is successful.

Your PERP wallet tab should now display your deposited balance.
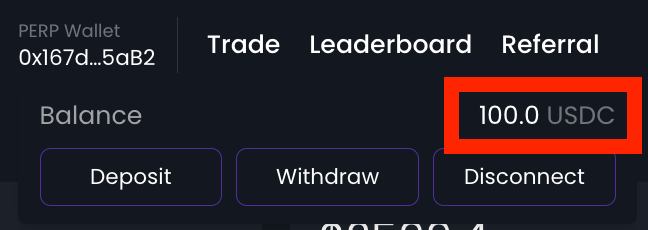
Step 12: Now, let's open a position on a perp contract.
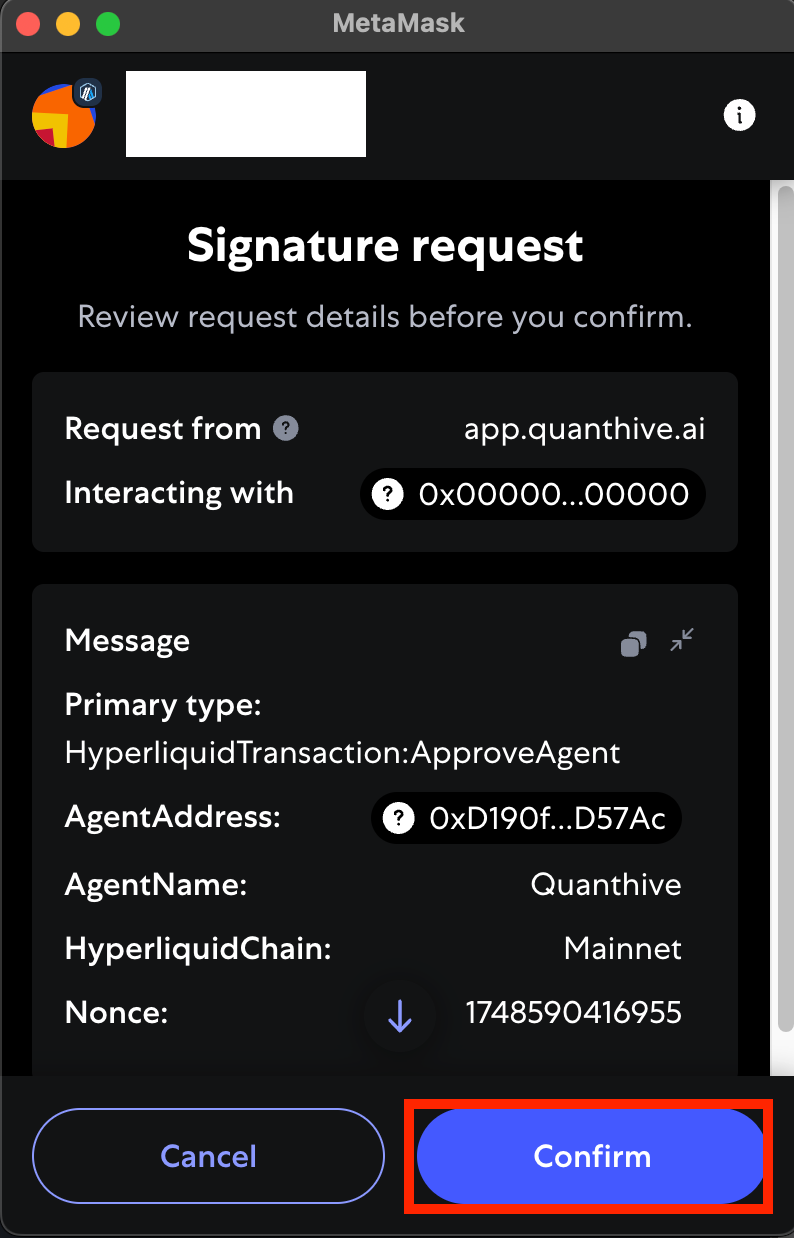
If you're trading perps on QuantHive for the first time, make sure to click the ENABLE TRADING button in the Perp Order Module first.

A signature request will then appear — click Confirm to continue.
Go back to the Perp Order Module and select either Long or Short:
Choose Long if you believe the token price will rise.
Choose Short if you expect the token price to fall.
To adjust leverage, click on the Leverage button on the right.

An Adjust Leverage window will appear. You can either manually enter your desired leverage in the input field or use the slider to select it. Once done, click the Apply button.

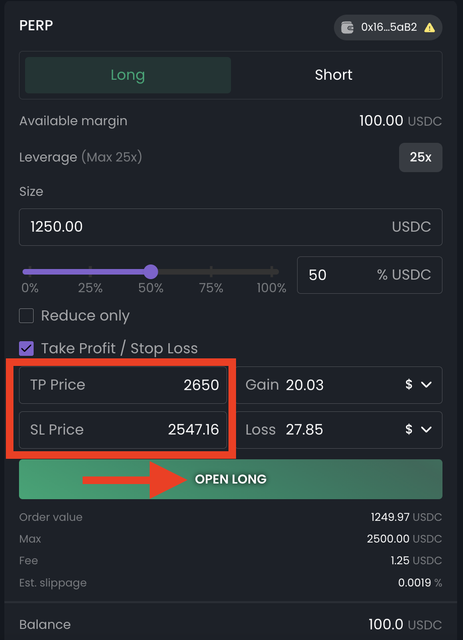
Step 13: Back in the Perp Order module, enter the position size in USDC value. You can also use the slider to select a percentage of your available margin to determine the leveraged size.
To manage risk, you can enable the Take Profit / Stop Loss option by checking the corresponding box.

More fields will appear for you to enter your take profit and stop loss prices:
TP Price (Take Profit): This is the price at which your position will be automatically closed when the mark price reaches your target. It helps secure profits once your desired price is hit.
SL Price (Stop Loss): This is the price at which your position will be closed automatically to limit losses if the market moves against your trade.
Once all parameters are set, click Open Long or Open Short to open your position.
Congratulations on opening your first perpetual trading position! An alert will pop up to confirm that your position has been successfully opened.

You will also be able to see and monitor your trade position(s) in the Positions, Orders & History Log.

Closing Your Position
If you’d like to close your position(s) early, go to the Positions, Orders & History log and click the Close button.

A Close Position window will pop up. You can either drag the slider or manually enter a value to determine how much of your position to close. Drag it to 100% if you want to close the entire position, then click the Confirm button to execute it.

Withdrawing Funds
If you would like to withdraw your remaining balance from the Perp wallet, you can do so either from the PERP Wallet tab above, or by simply scrolling down the Perp order module to reveal the Withdraw button.
Click on the Withdraw button to proceed.

A Withdraw window will appear. Ensure the wallet address shown in the Address field is the correct destination for receiving your $USDC funds. Next, enter the amount you wish to withdraw in the Amount field, or click MAX to select the maximum available amount. Then, click Withdraw to execute. Your funds should arrive in your wallet within a few minutes.

Note: Please ensure that the wallet address you are withdrawing to is correct before clicking the Withdraw button. Withdrawals to the wrong address are permanent and cannot be reversed or refunded.
Note: If you are still experiencing issues with trading perps, please contact our team by submitting a ticket on Discord at https://quanthive.ai/discord.
Last updated